I always wanted to have a 3D printer. Ever since the day I got one, I have been exploring a lot of things, beginning with the printer upgrades. I am glad to share about one of the projects that started last year, But I have finally managed to complete it.
## Lithophane
Lithophane
An etched or molded artwork in very thin translucent porcelain or plastic that can be seen clearly only when backlit with a light source.
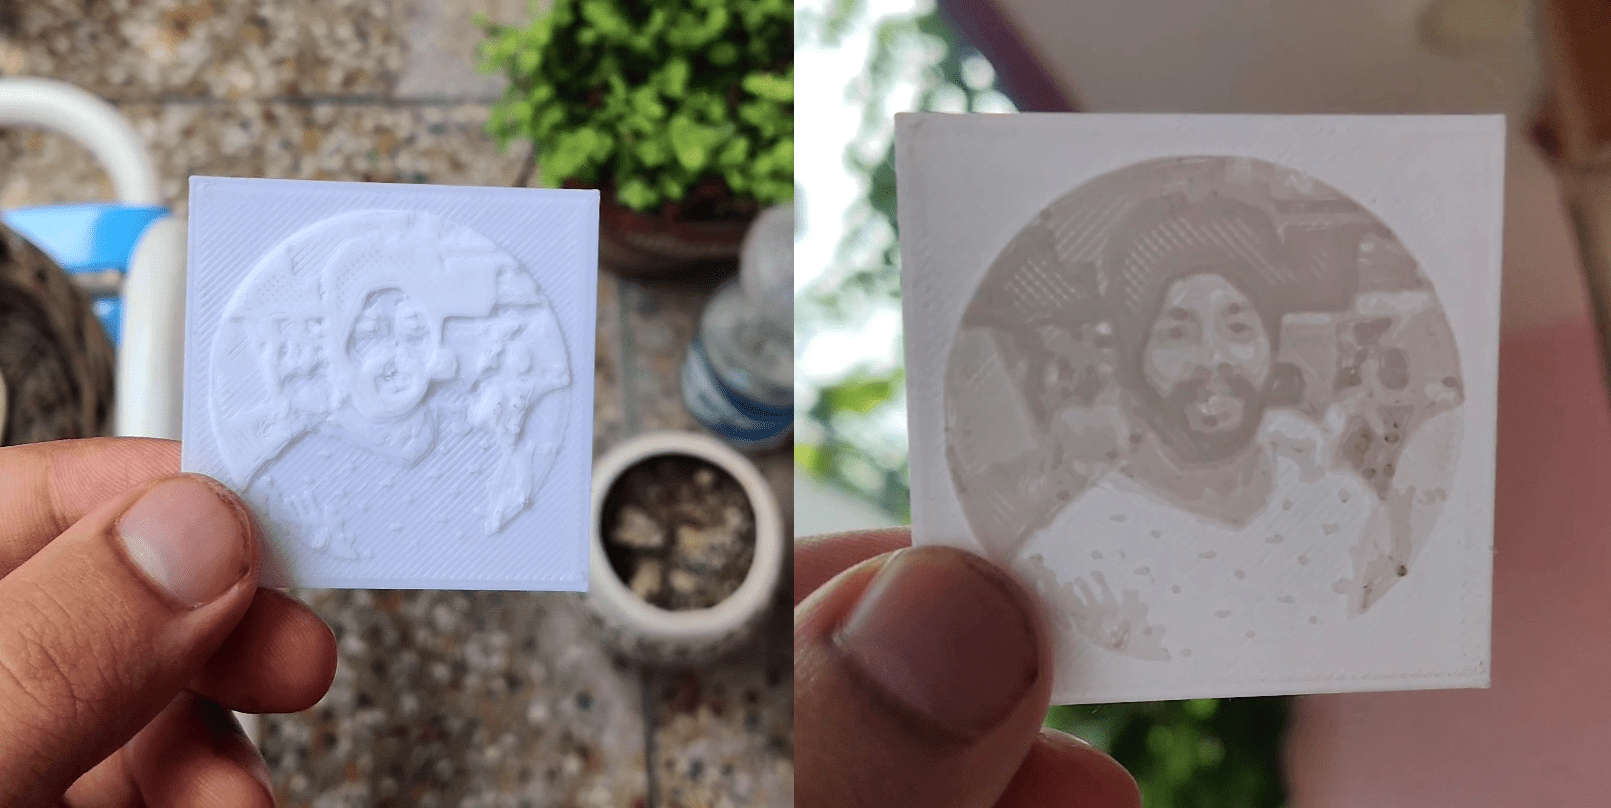
It all started off with making a lithophane out of my own photo. I am sure you might have seen one of the similar kinds at an art studio, or you might have bought one for yourself.
## Printing the Lamp
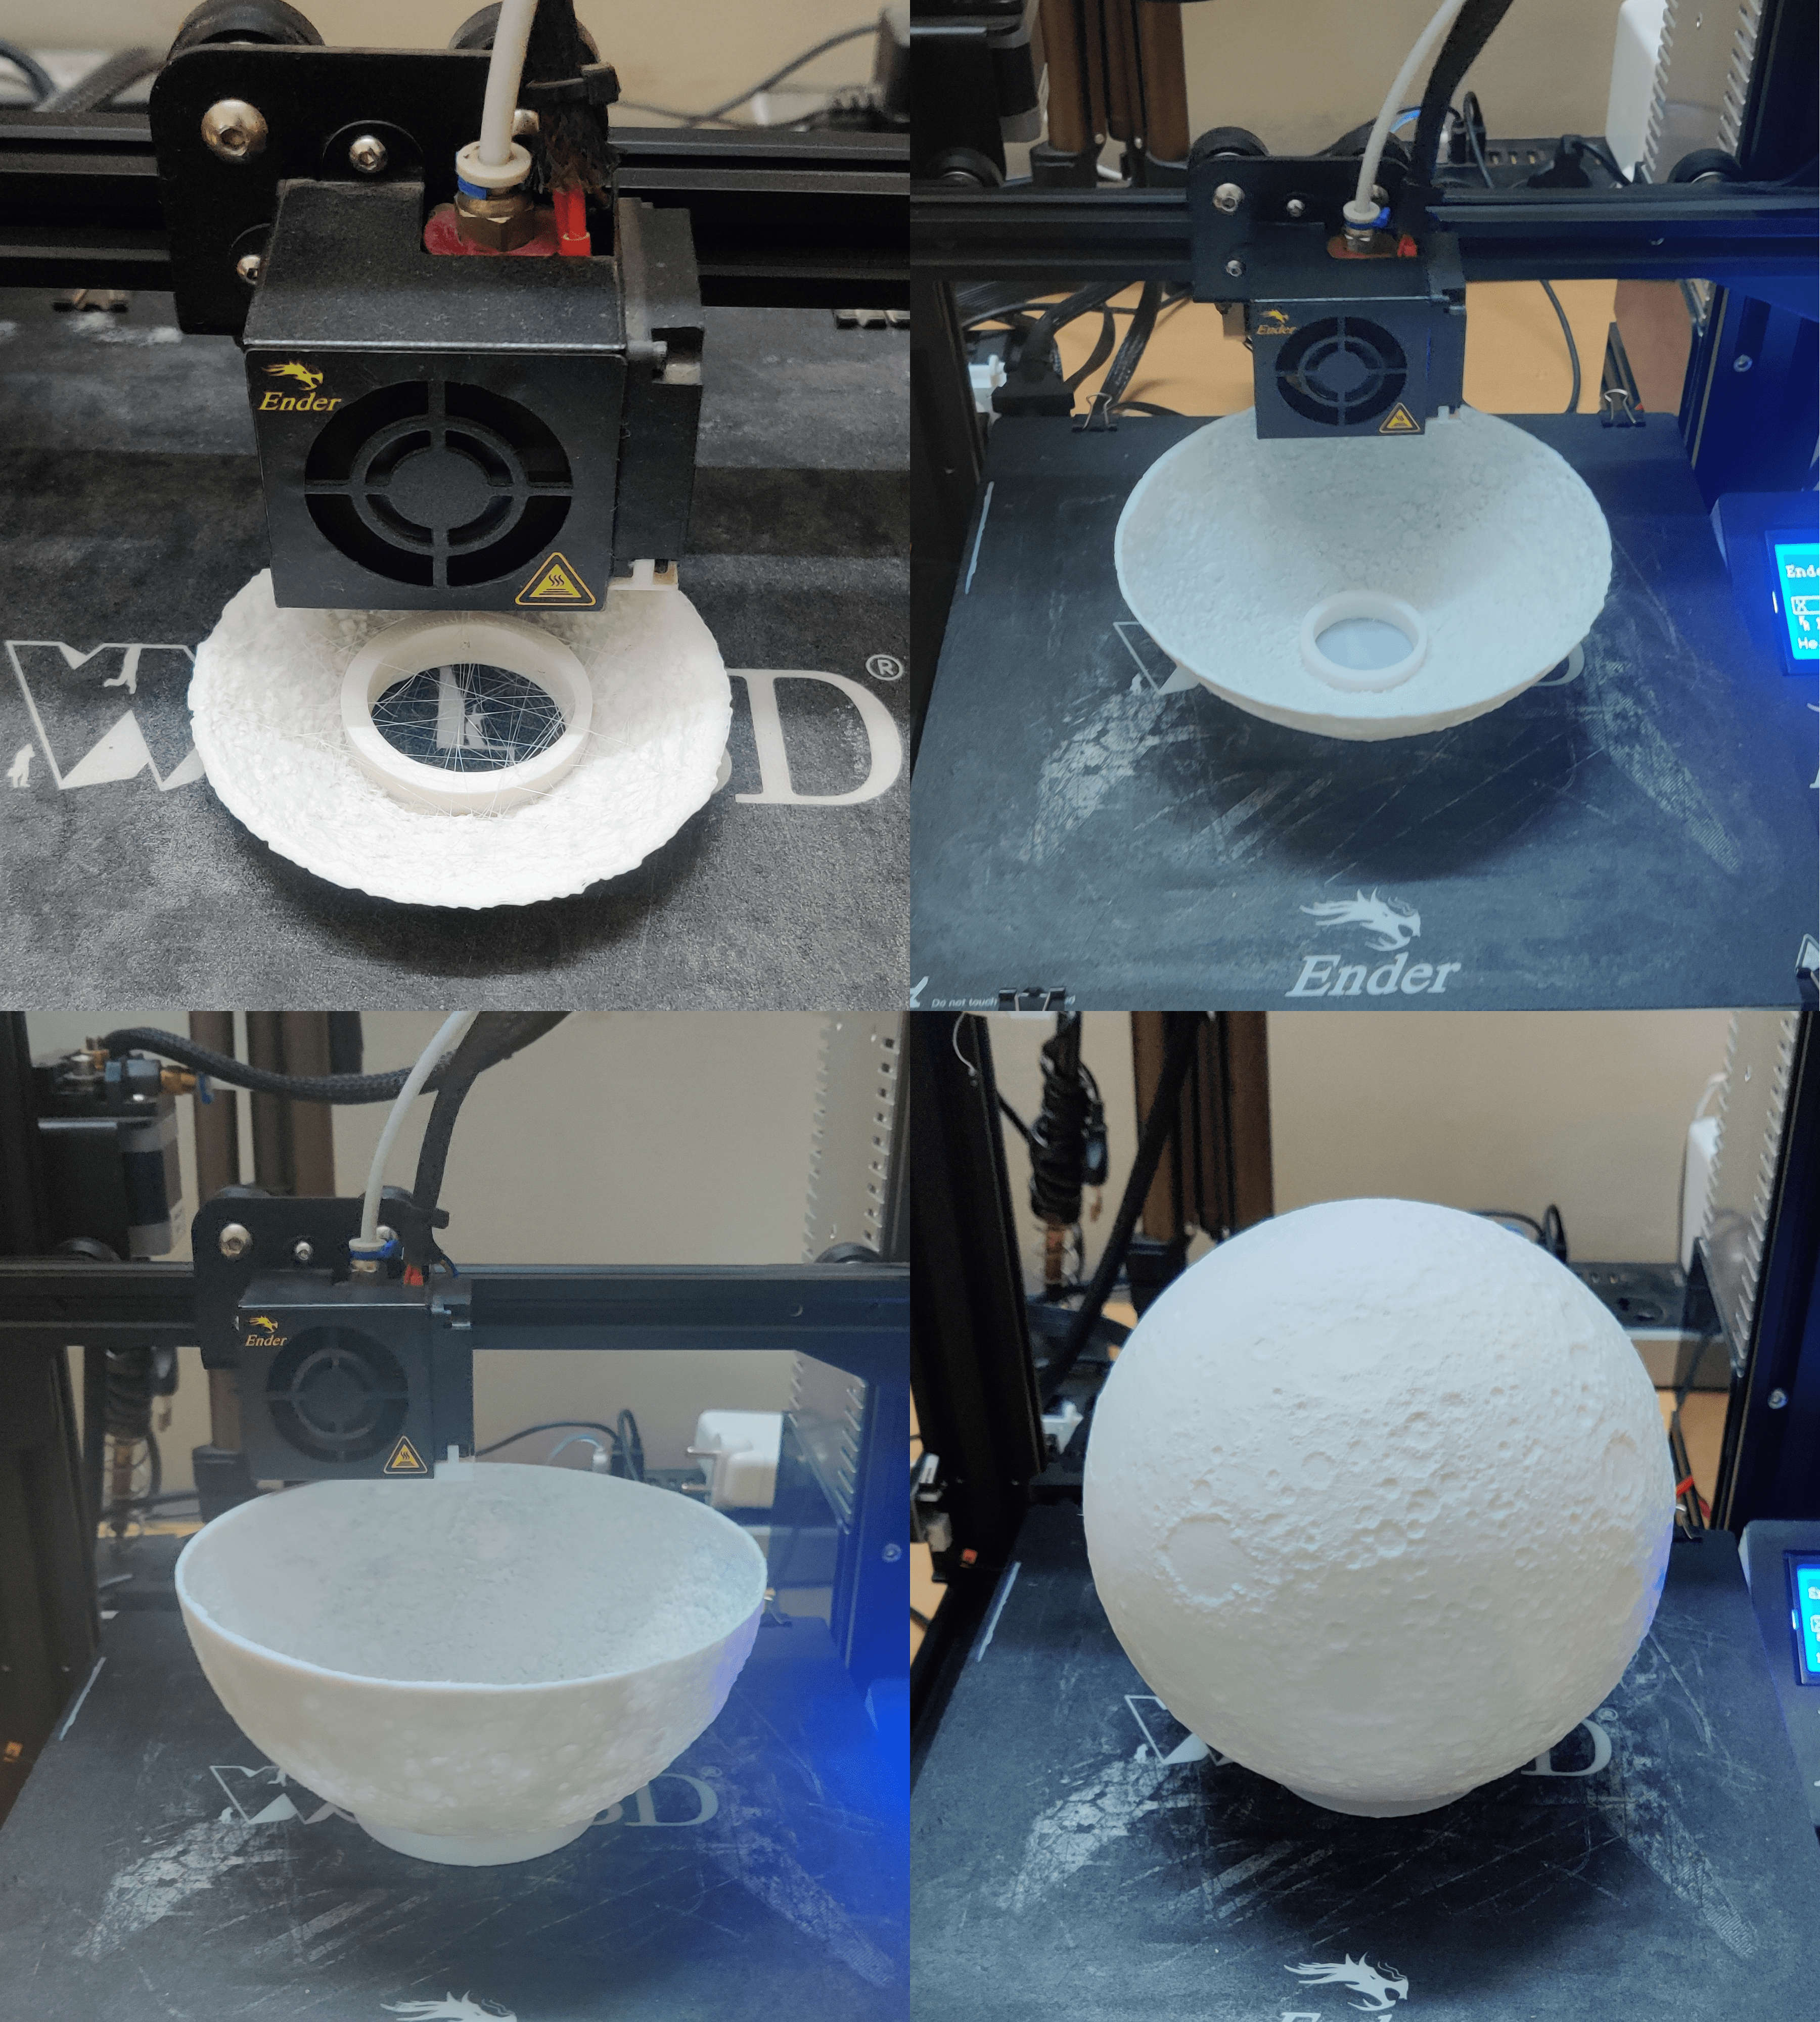
This is the first and longest step and even one single mistake/misalignment can make you print it again.
Caution
So before starting, make sure the bed is properly leveled.
The configs I used for the print are as below:
- Material: PLA
- Filament Color: White
- Speed: 100 mm/s
- Infill Density: 100%
- Layer height: 0.2mm
- Supports: No
Duration of print: ~46 Hrs (This is the longest print I have done since date)
3D Model: Moon lamp with base
## Printing the pipes
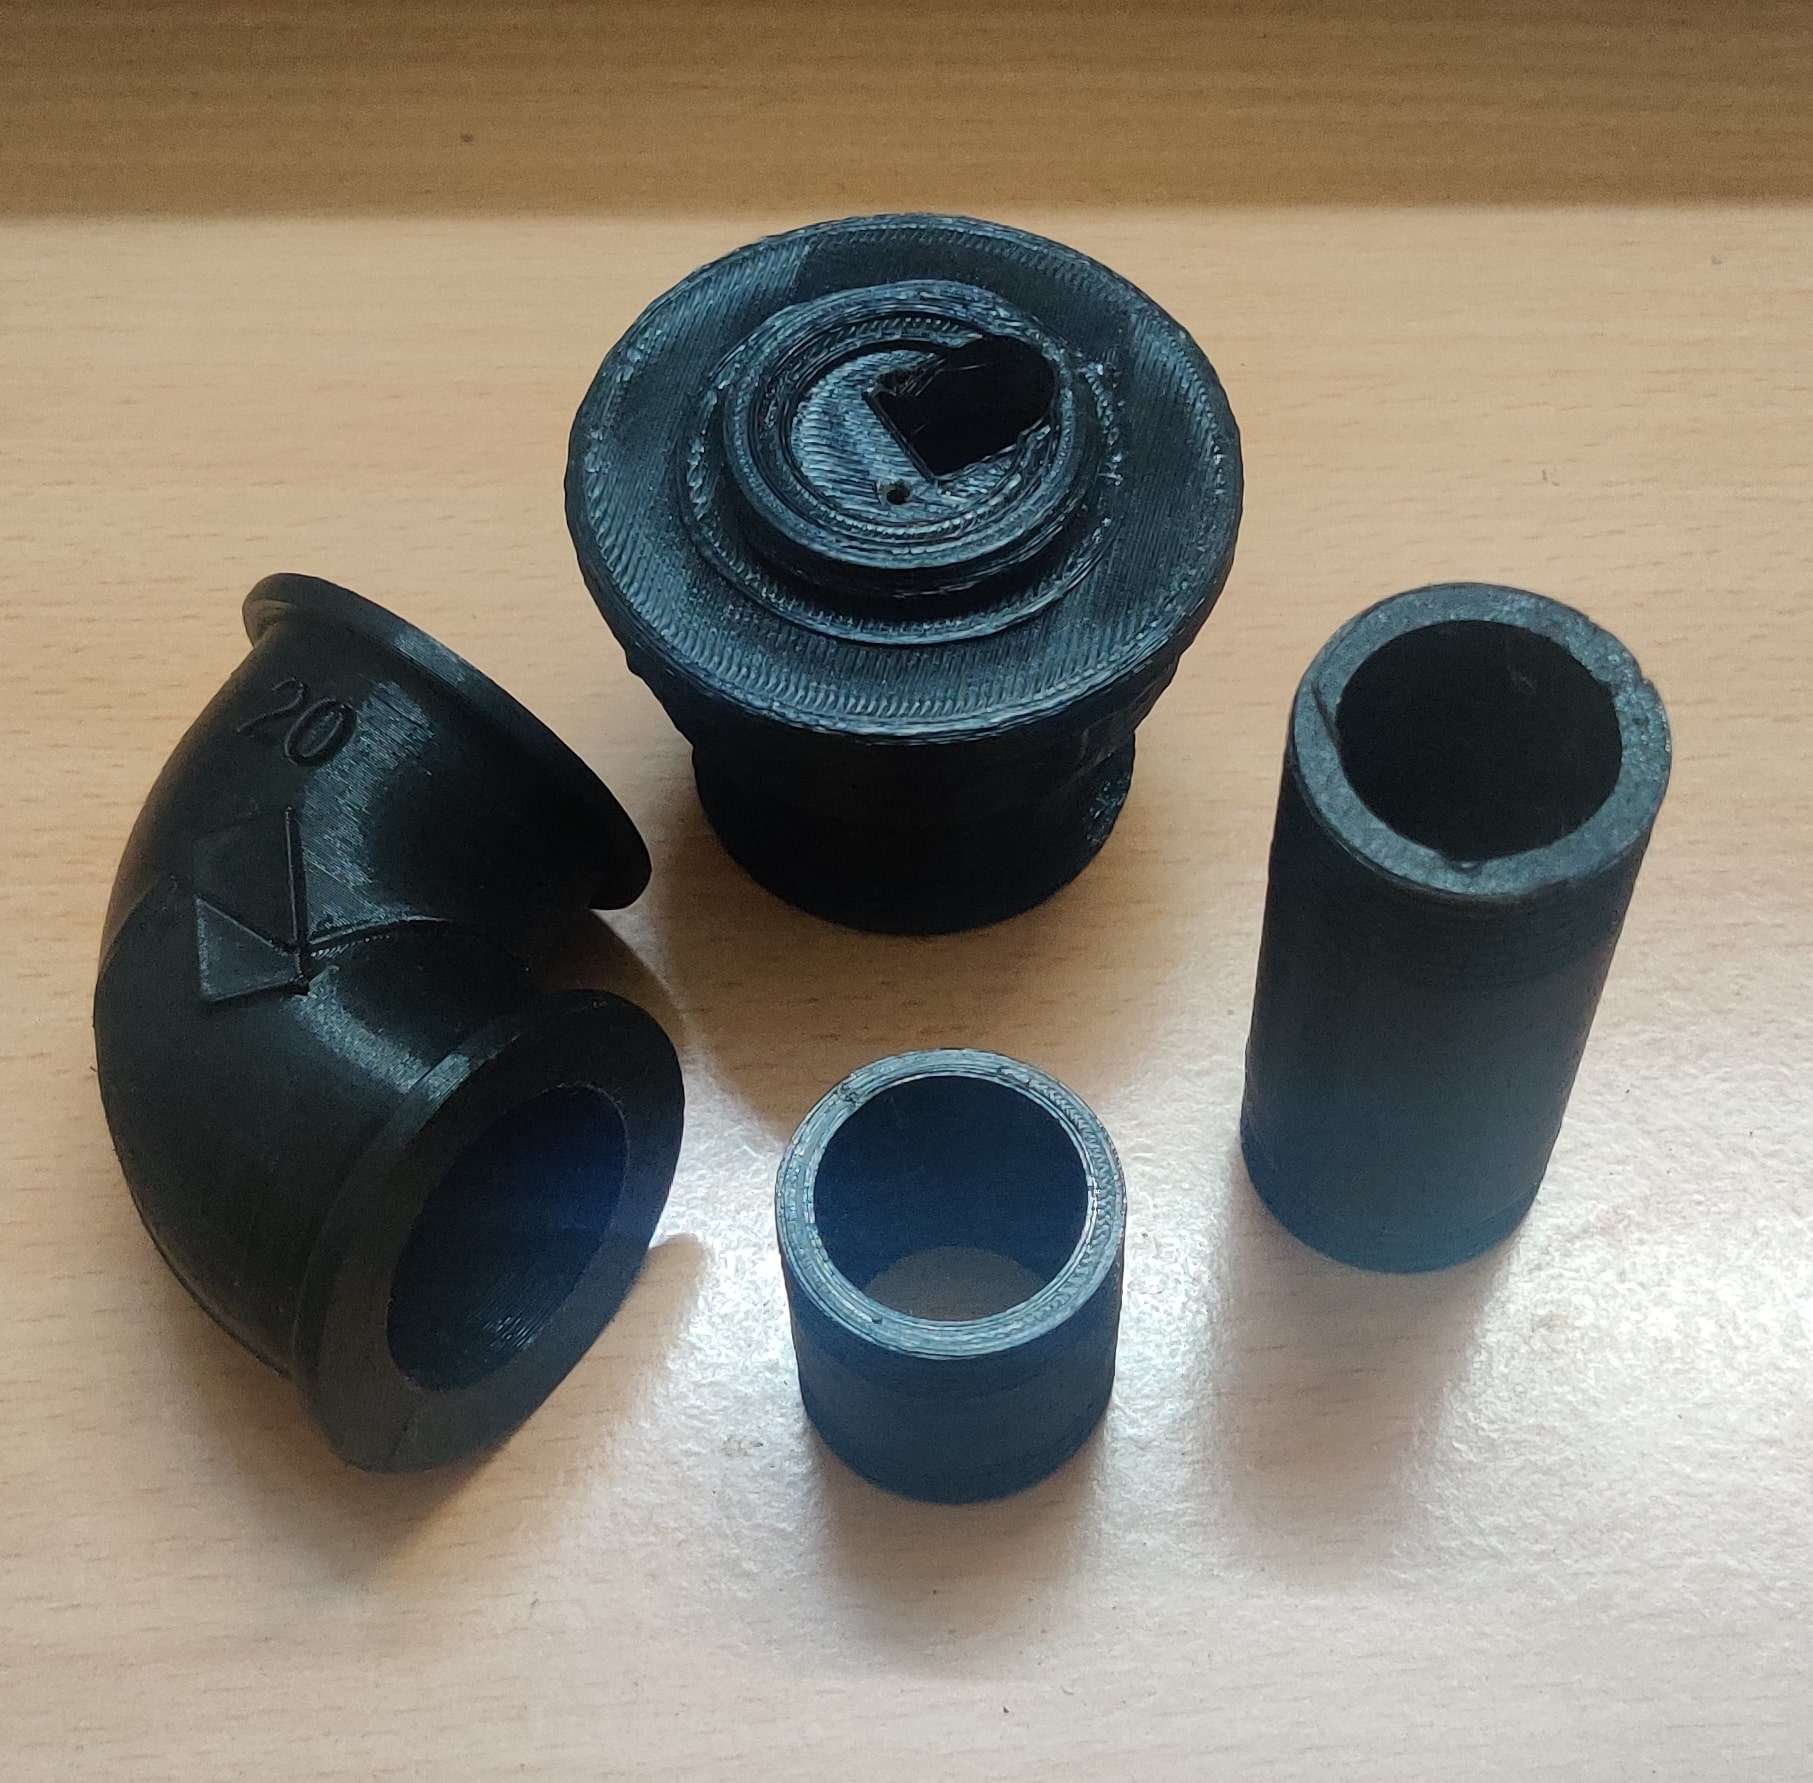
For attachments of the lamp with the wall, I have used one of the existing 3D models with some customization.
The configs I used for the print are as below:
- Material: PLA
- Filament Color: Black
- Speed: 150 mm/s
- Infill Density: 20%
- Layer height: 0.2mm
- Supports: No
Duration of print: ~6.5 Hrs
3D Model (Pipe): Pipe Constructor
## Customizing Lamp Base
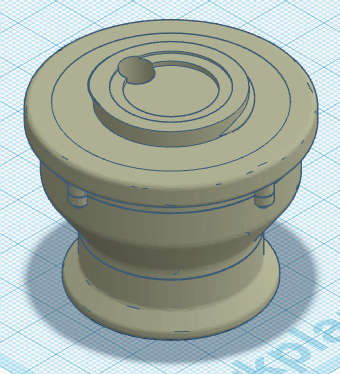
I did some slight modifications to the socket.
- Starting with reducing the height of the socket.
- Secondly, I added a top layer/cover to create a base for the lamp screw.
- Thirdly, I added the screw for the moon lamp to fit and a deboss on the top so that the led could fit there.
- At last, I added a pass-through-hole, so that led wires can pass through the base.
The configs I used for the print are as below:
- Material: PLA
- Filament Color: Black
- Speed: 150 mm/s
- Infill Density: 20%
- Layer height: 0.2mm
- Supports: No
Duration of print: ~2 Hrs
3D Model (Base): Moon Lamp Base
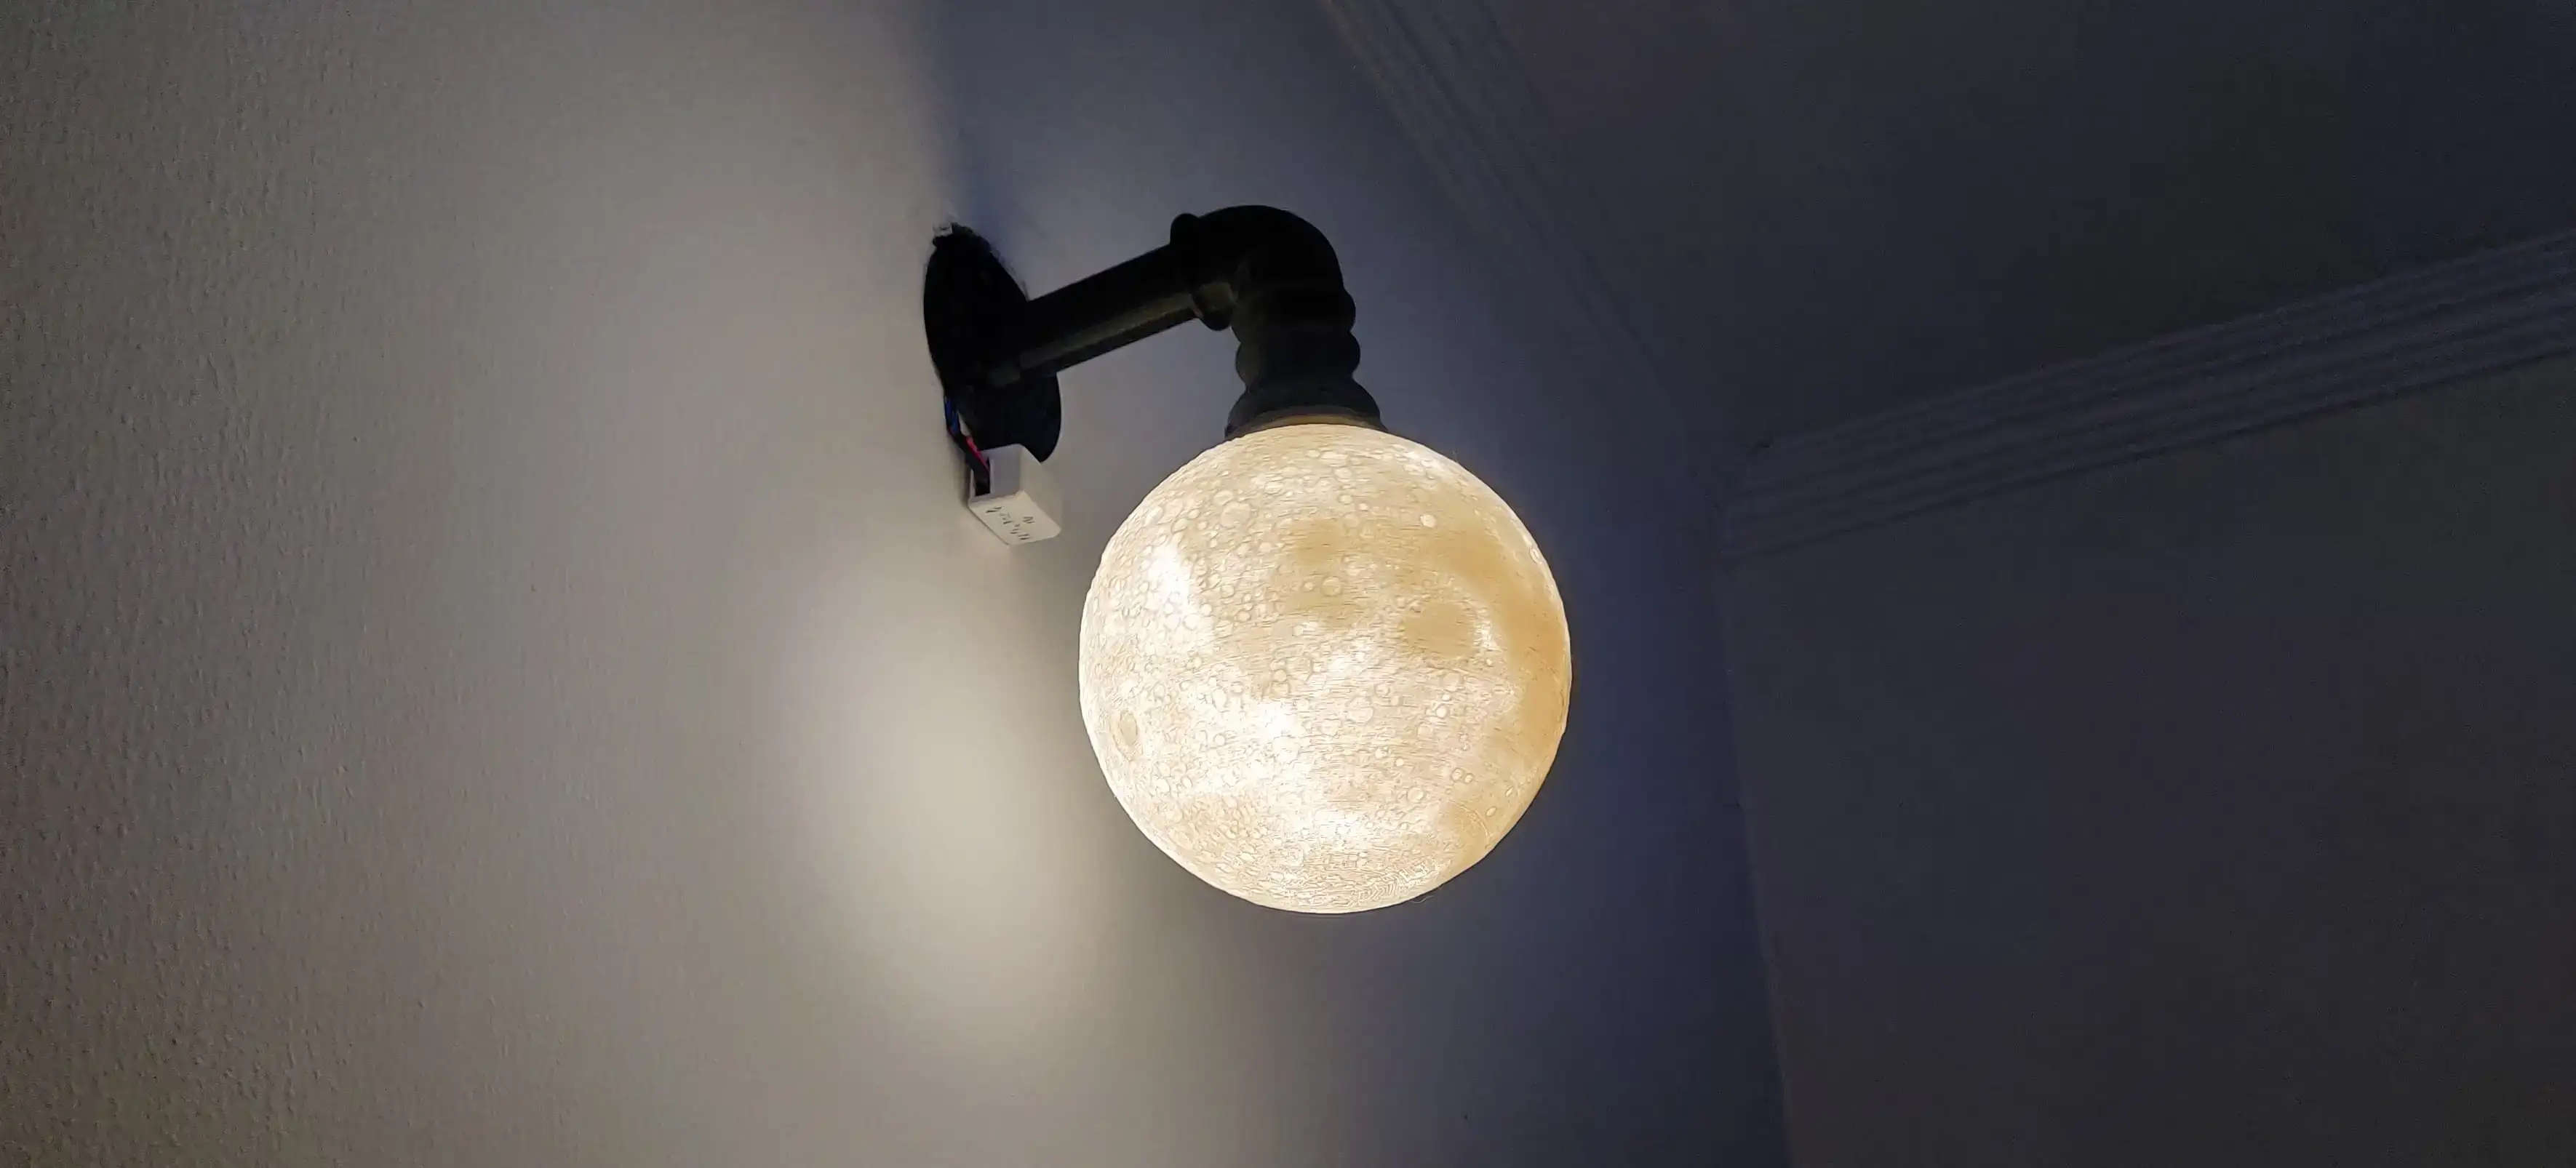
## Putting things together

Before hard wiring things up, I made some small changes like adding a connector between the driver and led light and a parallel connection for the 12V led driver. Next, we are only left with connecting the wires and tighten the screws.
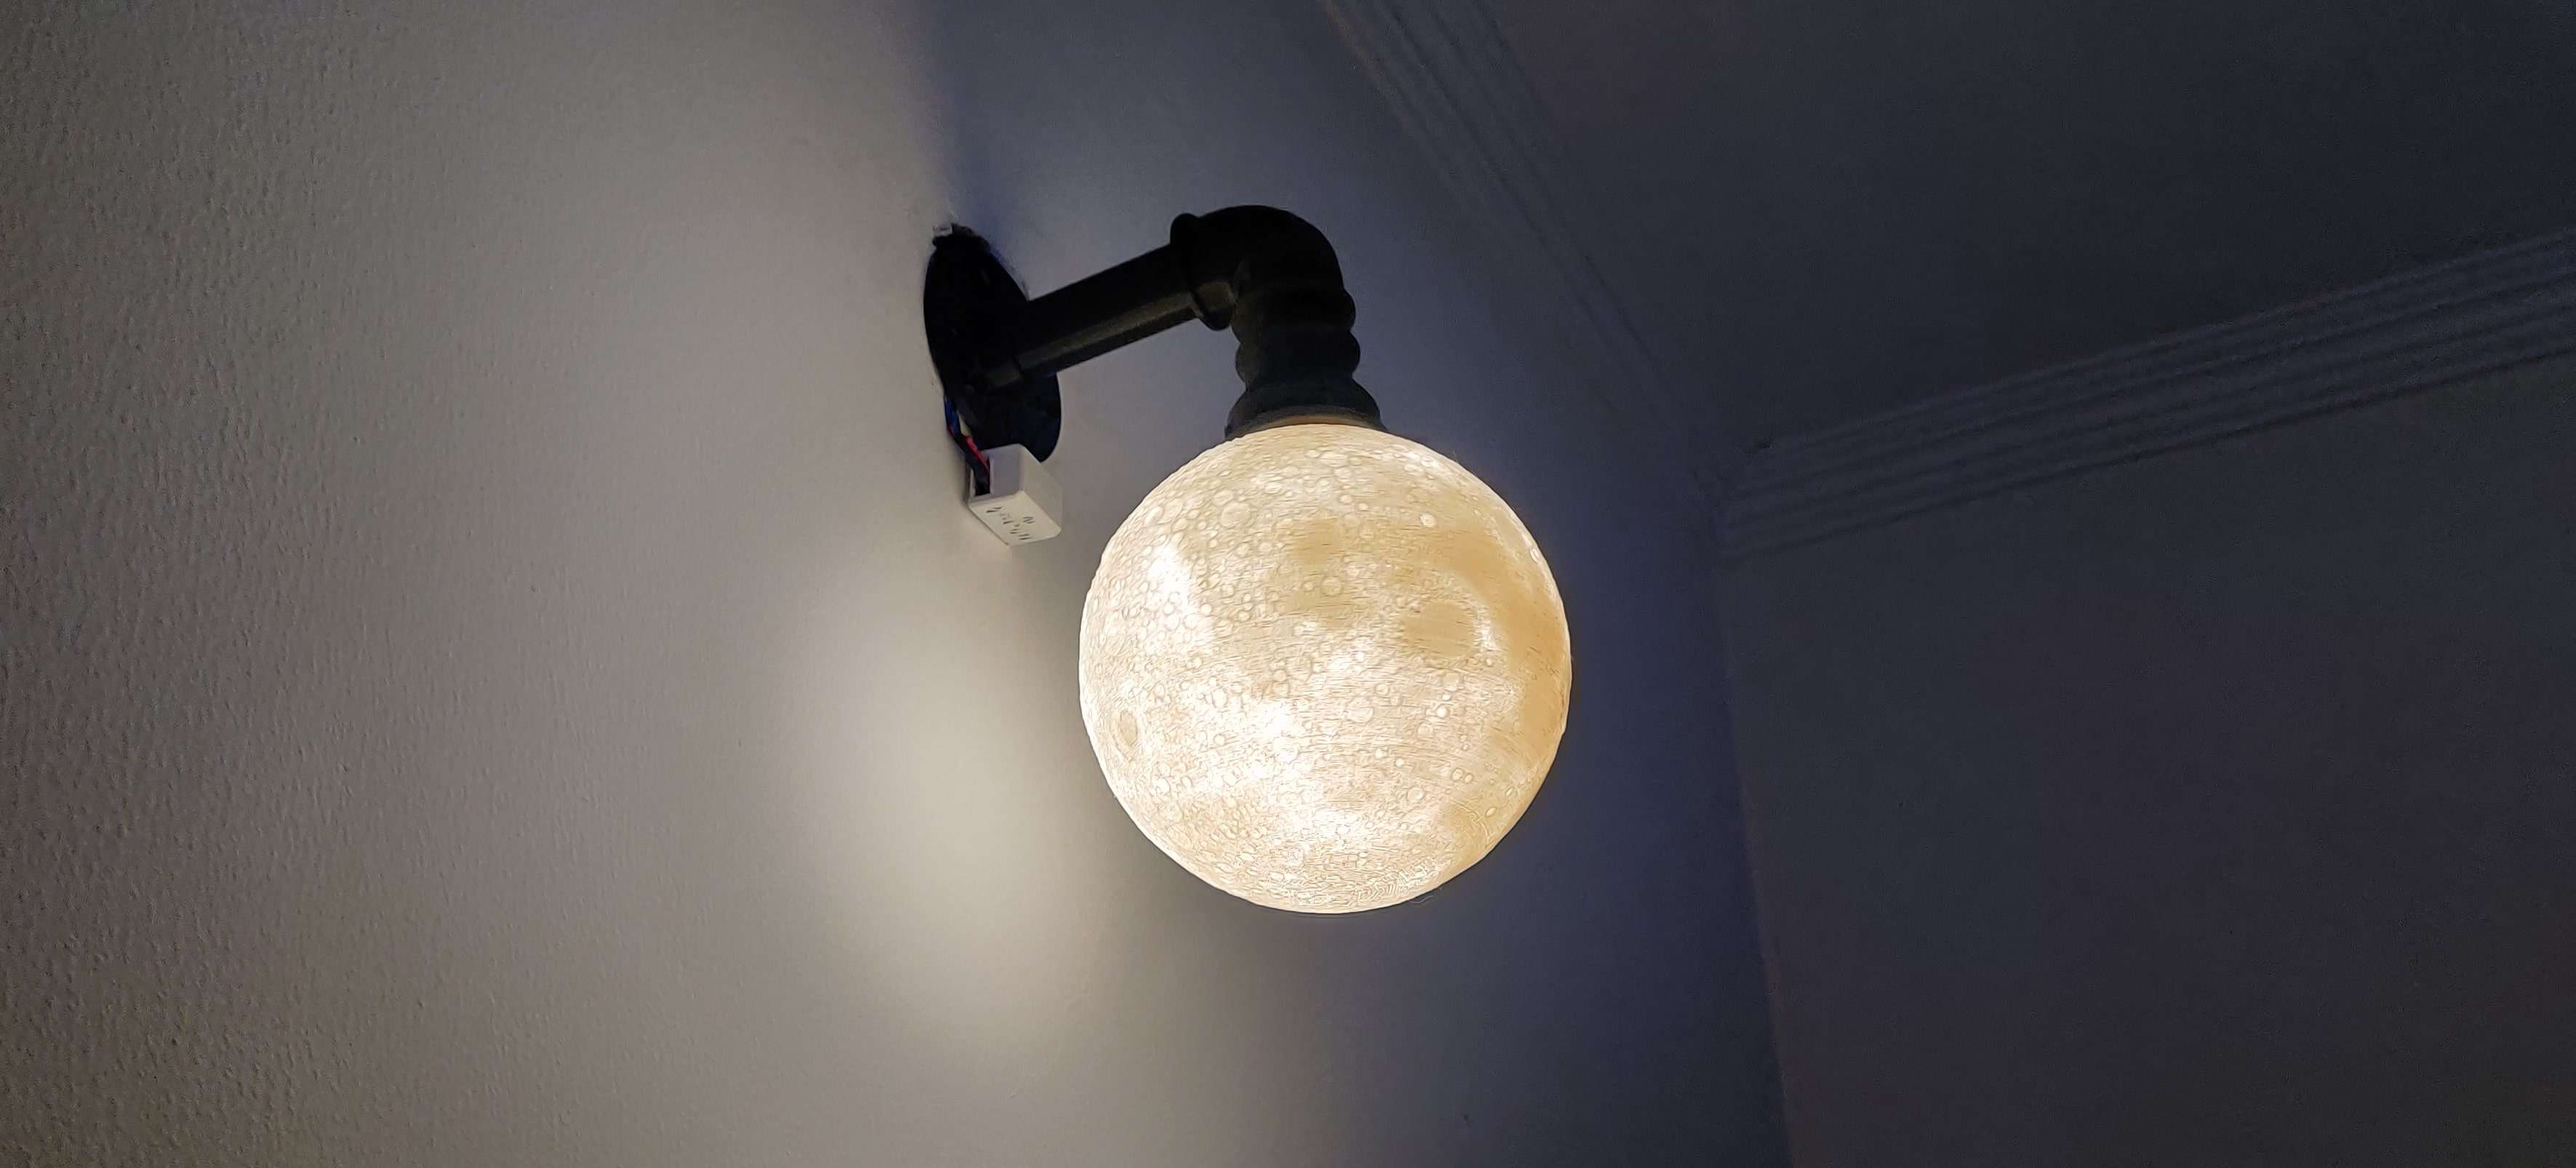
For the Led light, I have used a 2W warm white led with a 12V Led driver. The white filament that I have used has some natural yellow tint in it, making the lamp seem more yellowish.
## Where can we go from here?
It has been a year since I have printed the moon. I have been procrastinating on this project since then, thinking about some IoT-based solution with it. But for now, I have made it as a simple night lamp :D.
When I started this project I had some ideas around making it time-controlled, using a motion sensor, or integrating it with Alexa. But for now, it is more important for me to see it complete and upgrade with these solutions if required.